Frameless Shower Screens: the Full Range, Installed Across Sydney from $880
Frameless shower screens have no metal frame around the glass. The panels are 10mm toughened glass, held by hinges and brackets, so the glass is the only thing you see. Showerland makes and installs the full range from our Blacktown base: fixed panels from $880, door and panel screens, wall to wall runs, corner, diamond and tile-following shapes, over bath, sliding and walk in. Every screen is cut to your measurements, and the work is covered by our 12 month workmanship warranty.
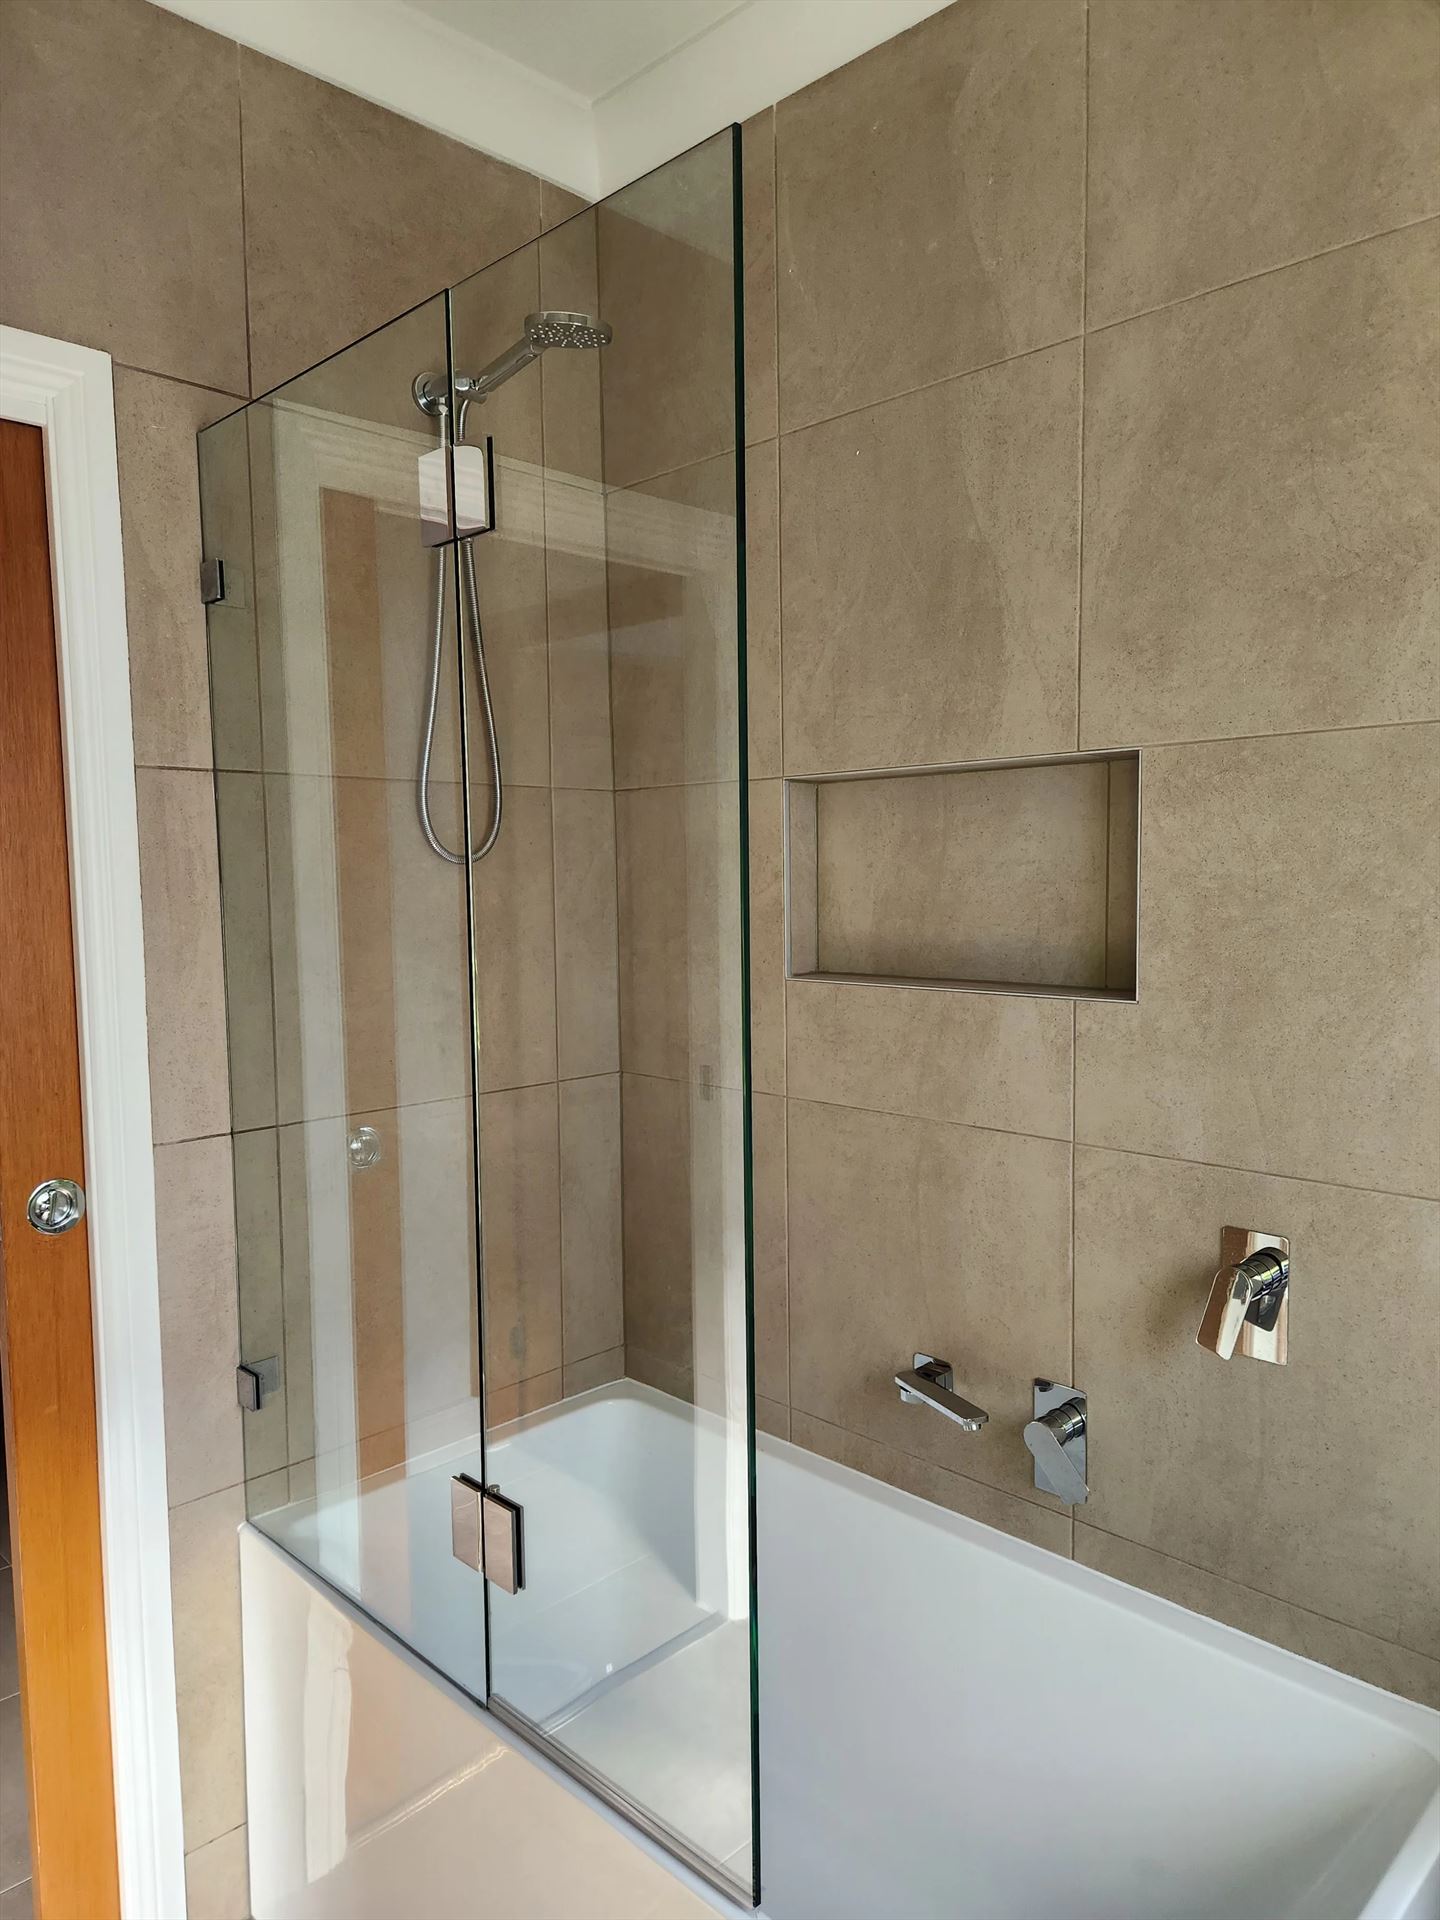
The frameless range
Pick the layout that matches your bathroom. Each card links to the page for that screen, with sizes, photos and the questions people ask most.
Fixed panel. From $880 installed.
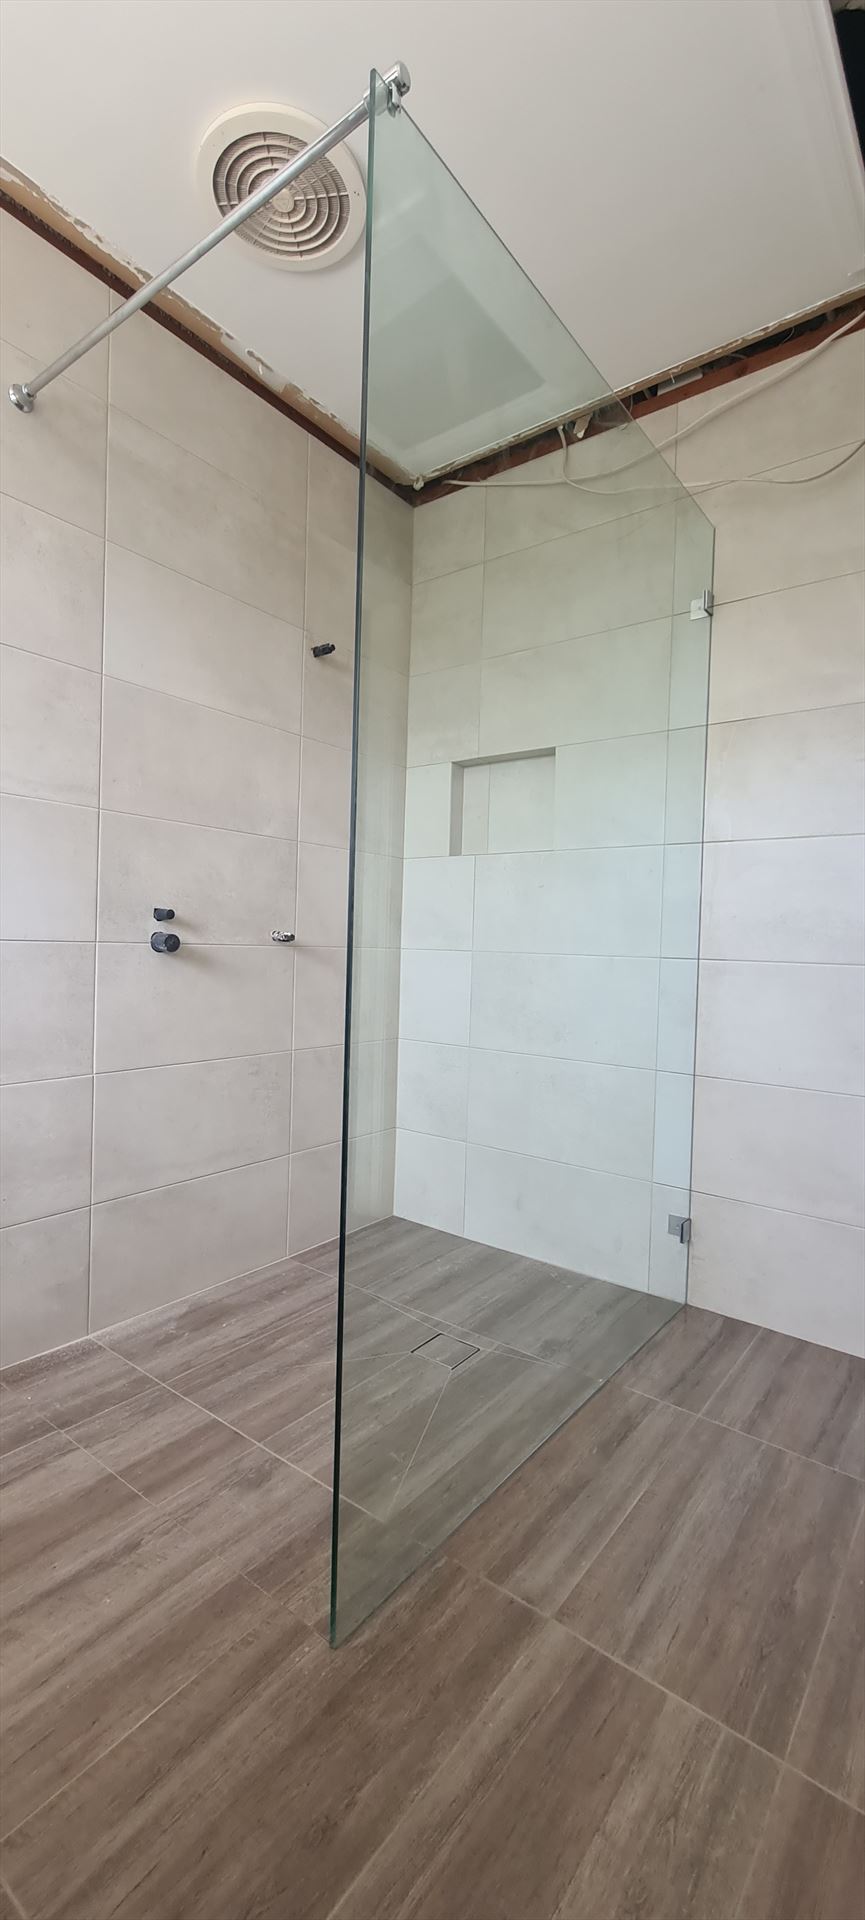
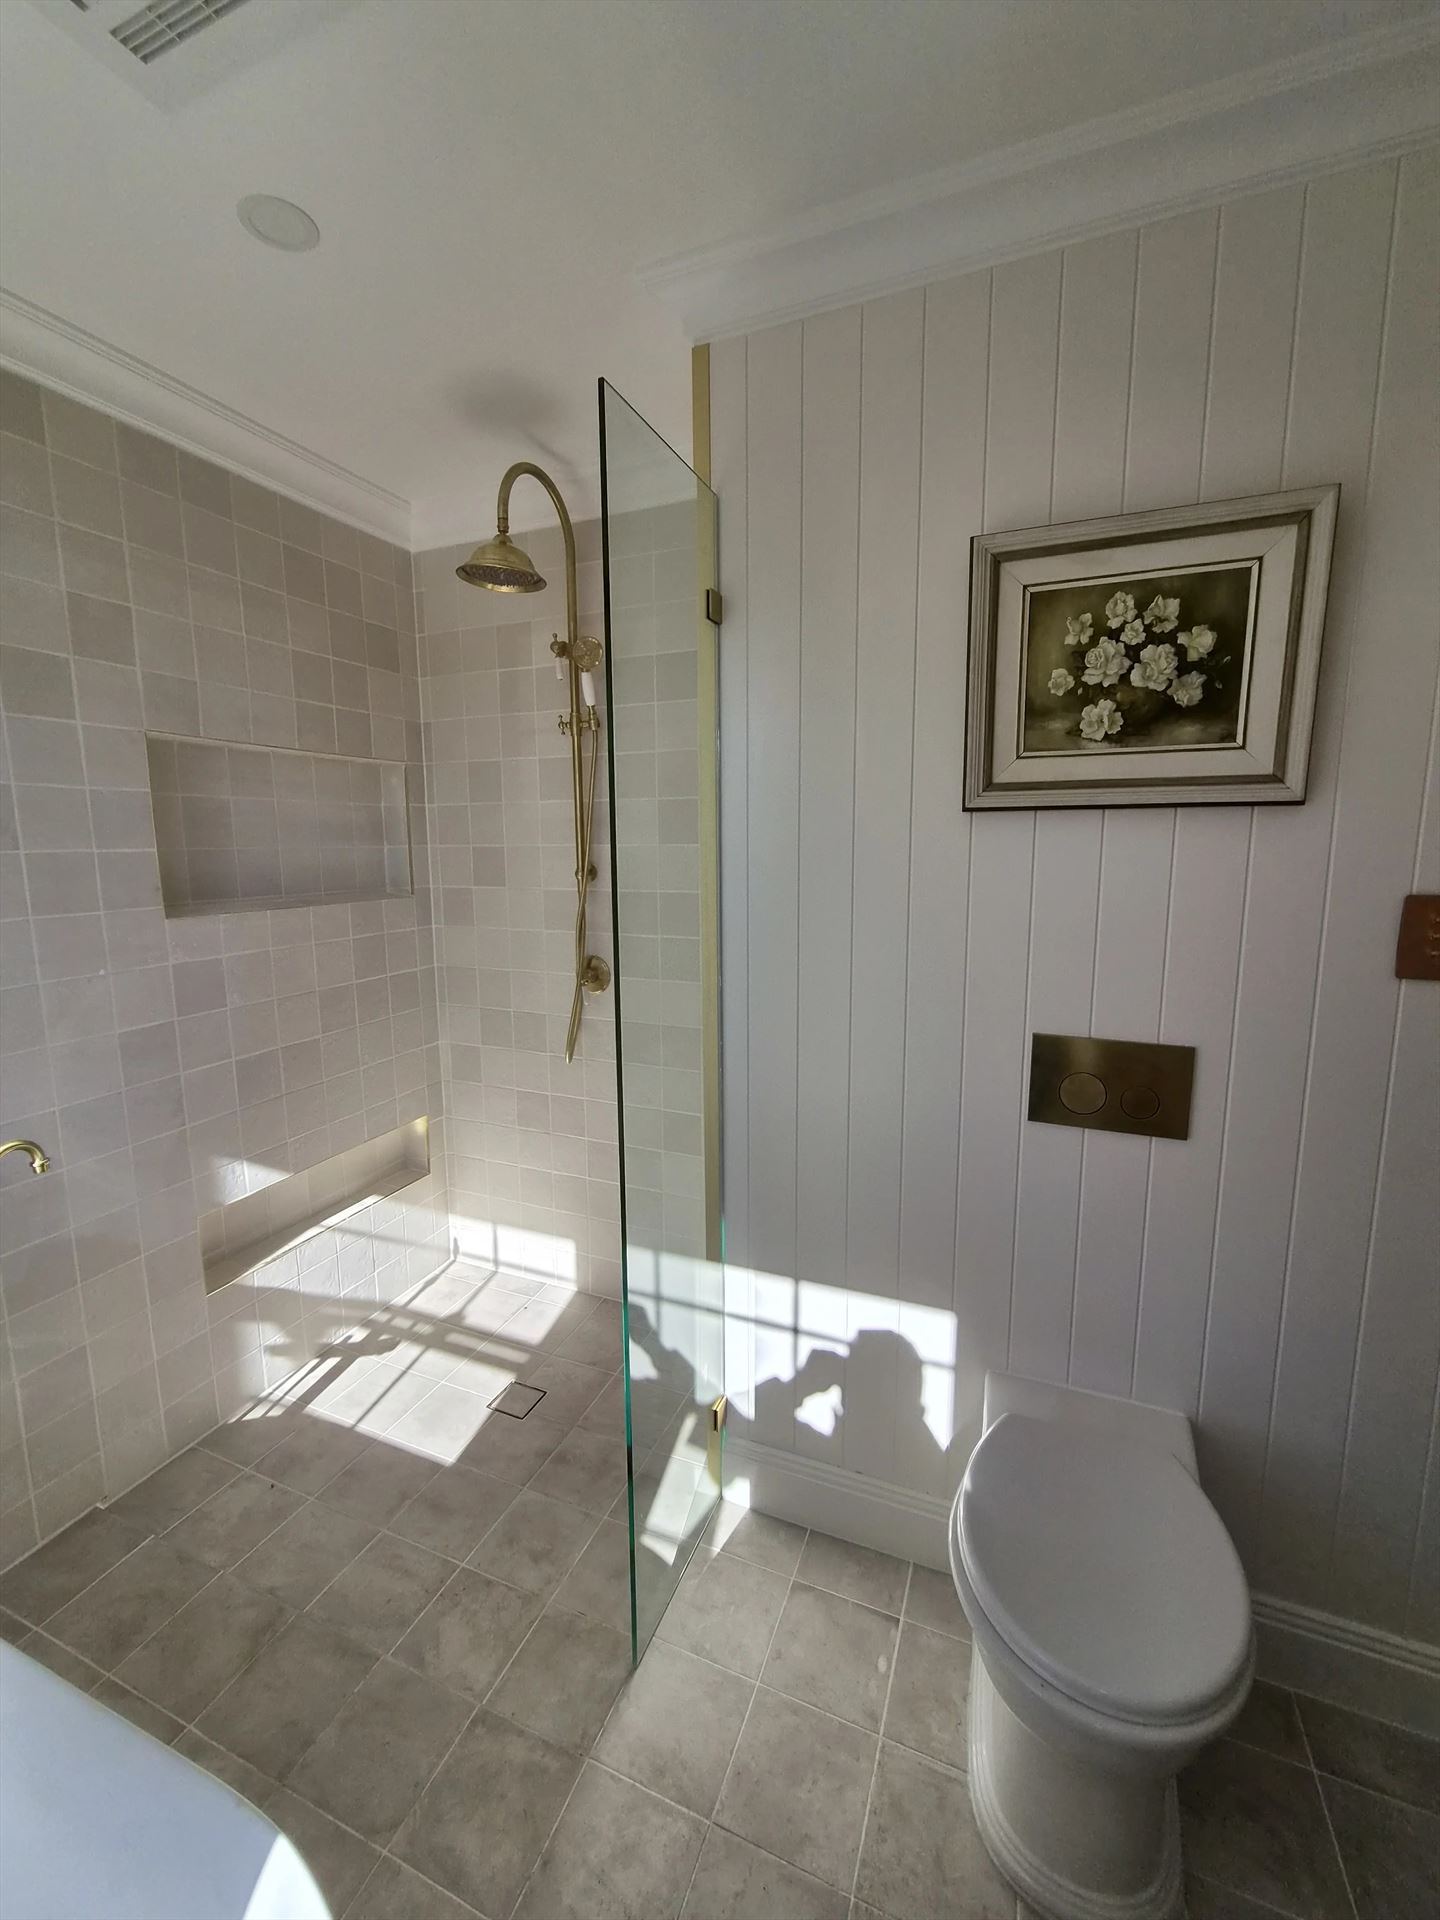
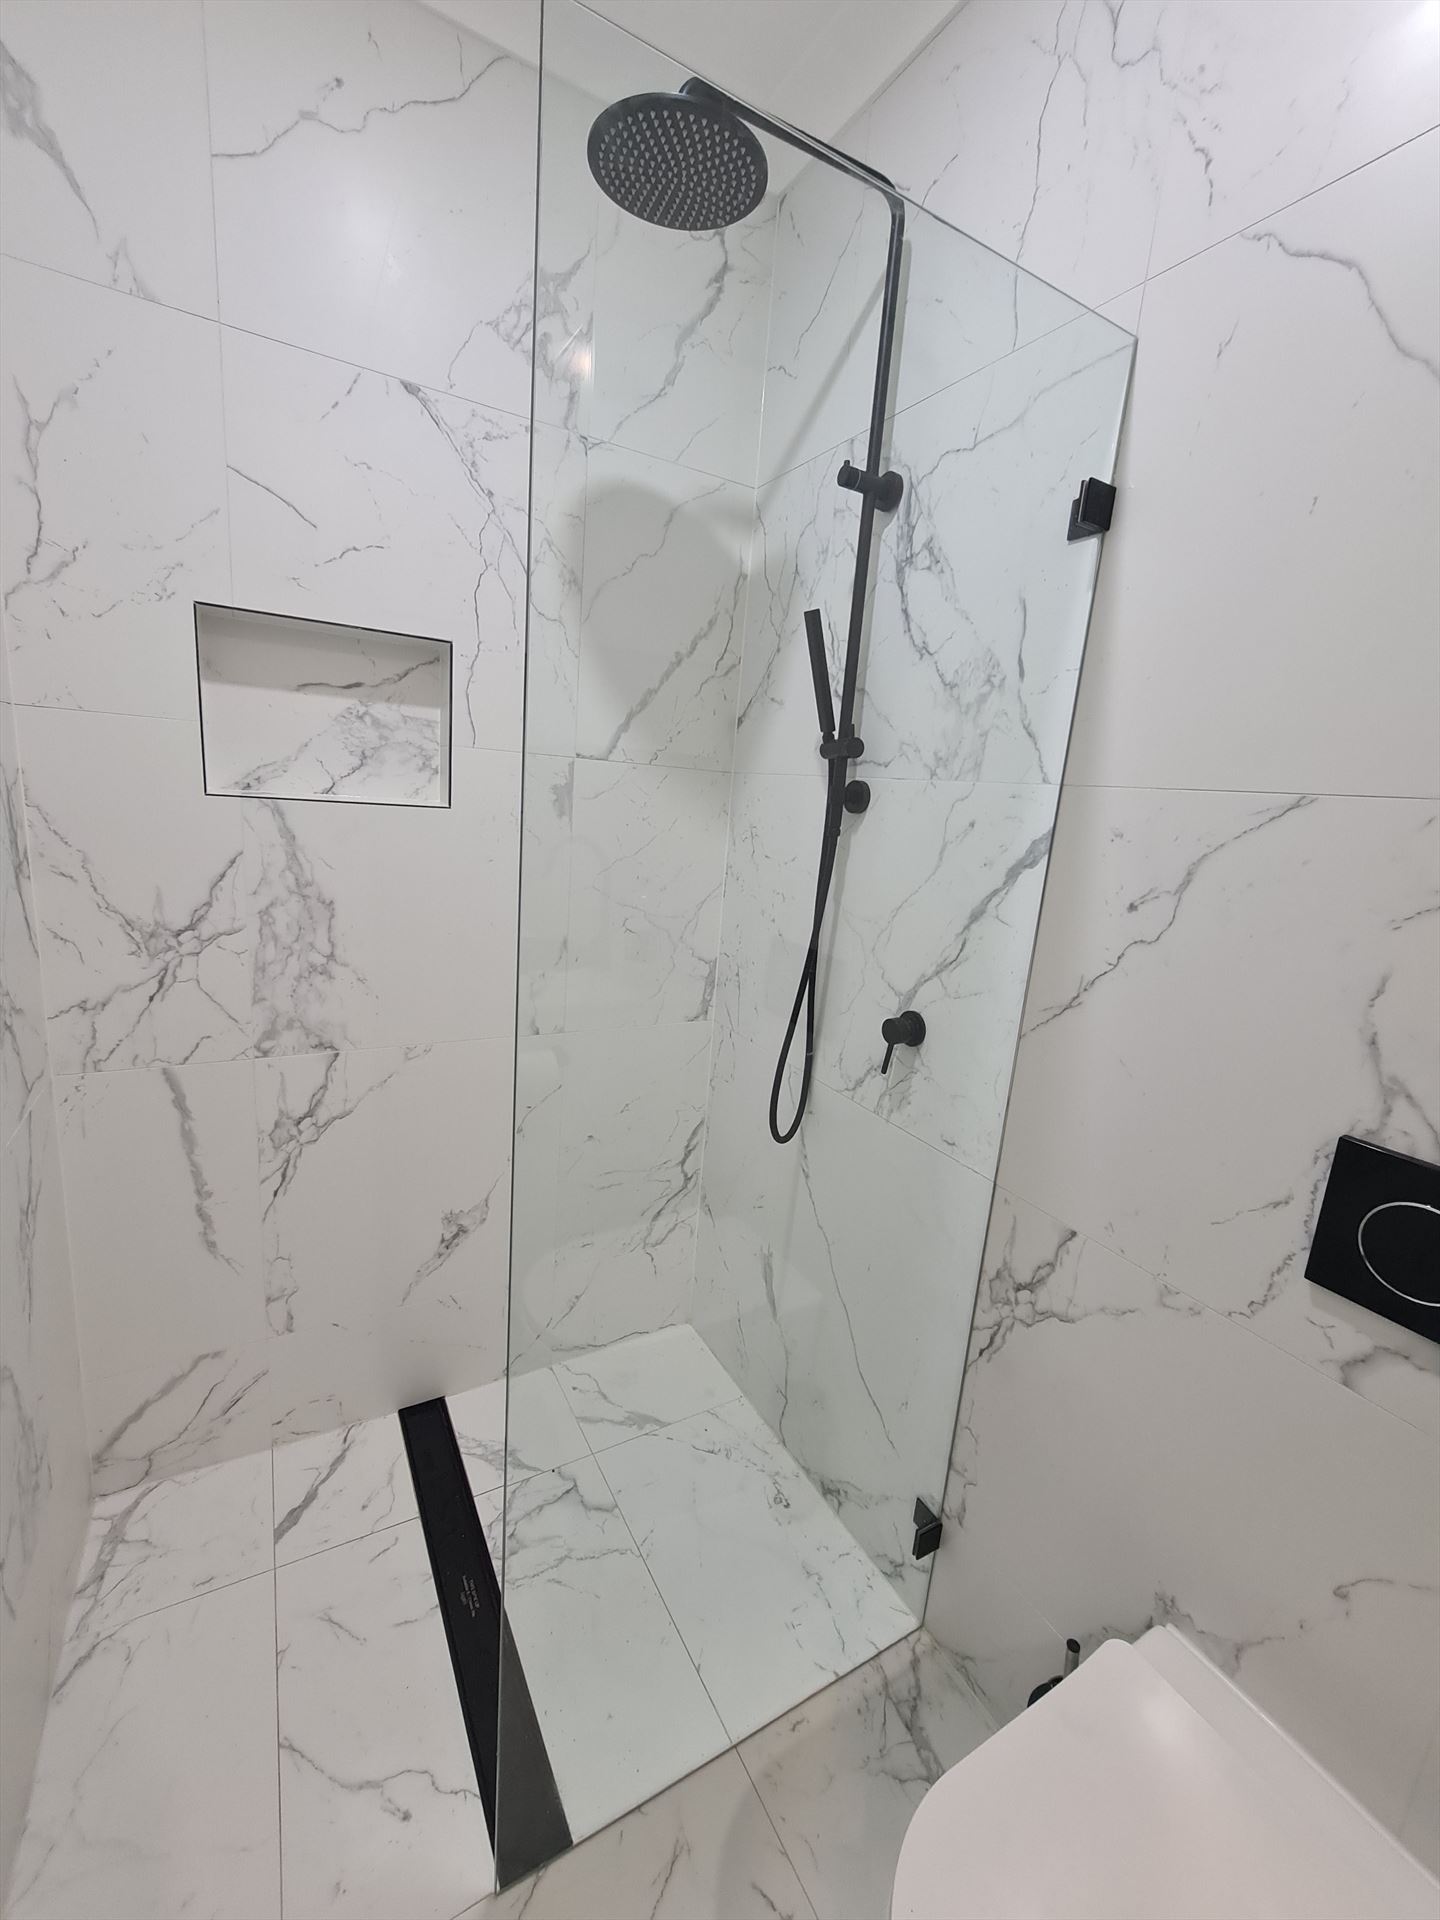
A single sheet of glass fixed to the wall and floor, with no door. On its own it makes a walk in shower; beside a hinged door it is the panel that carries the hinges; over a bath it is the panel on the bath edge. It is the simplest screen in the range. See the frameless fixed glass panel page.
Door and panel
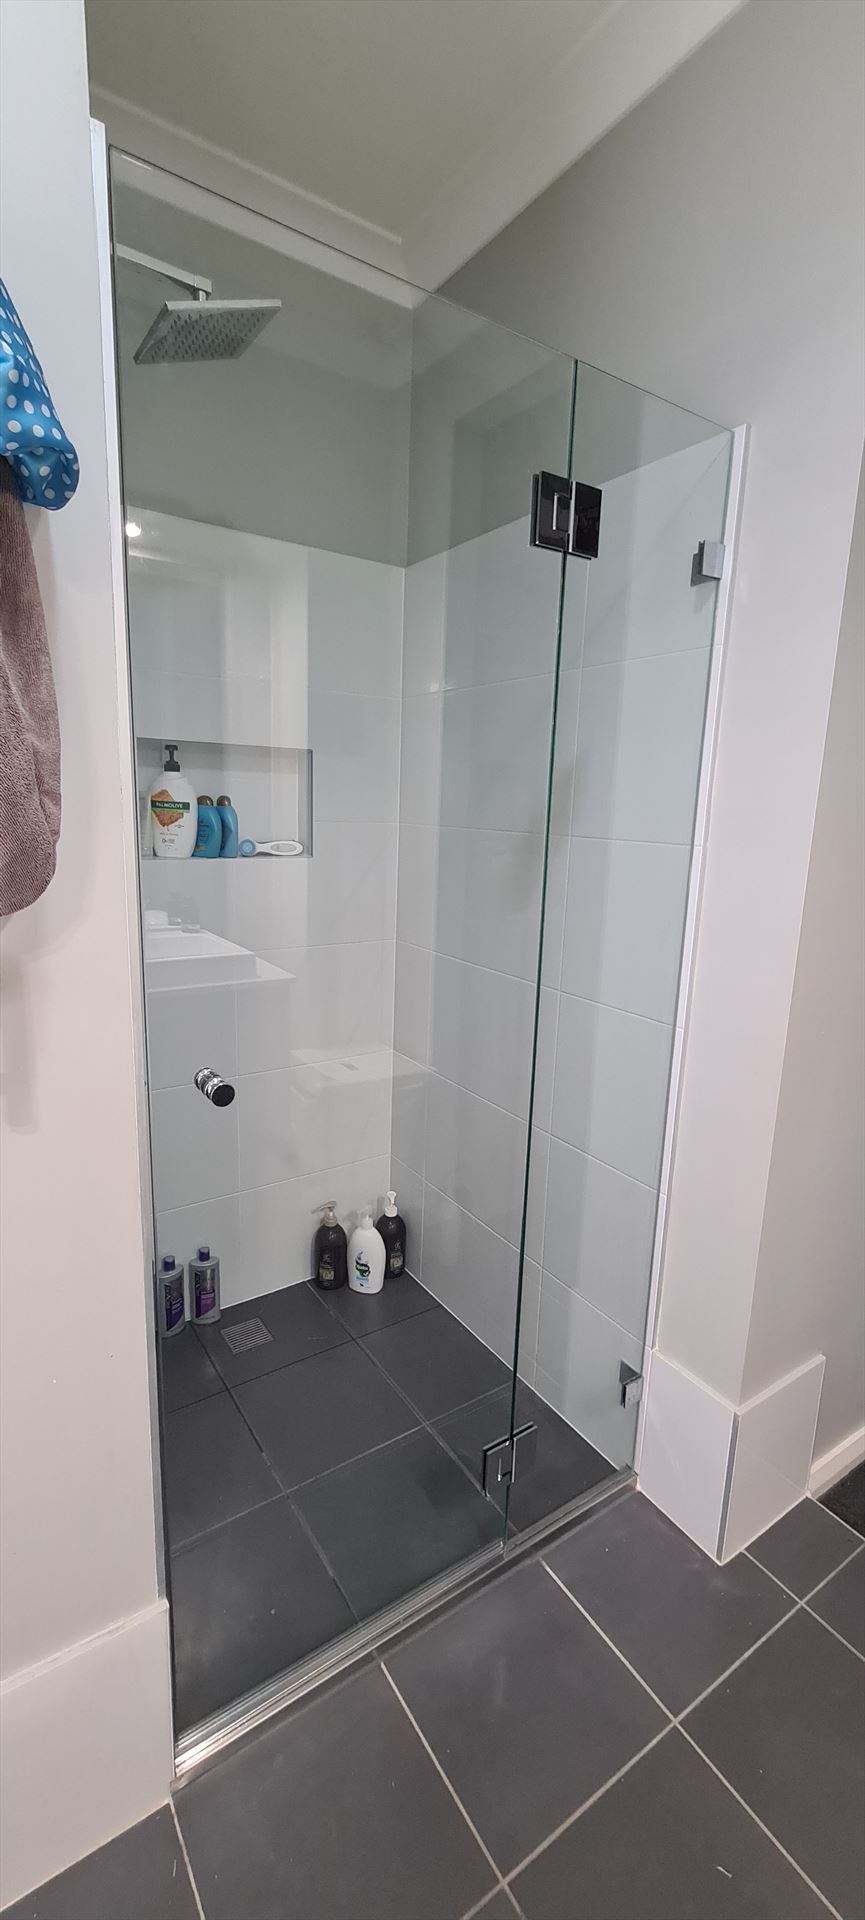
A fixed panel with a hinged door beside it, the layout most people picture when they think of frameless glass. The frameless shower screen door hangs on hinges fixed to the wall or to the fixed panel, and the hinges swing both ways. It suits a bathroom with room to swing a door and a shower recess wide enough for both pieces. Priced on measure.
Wall to wall
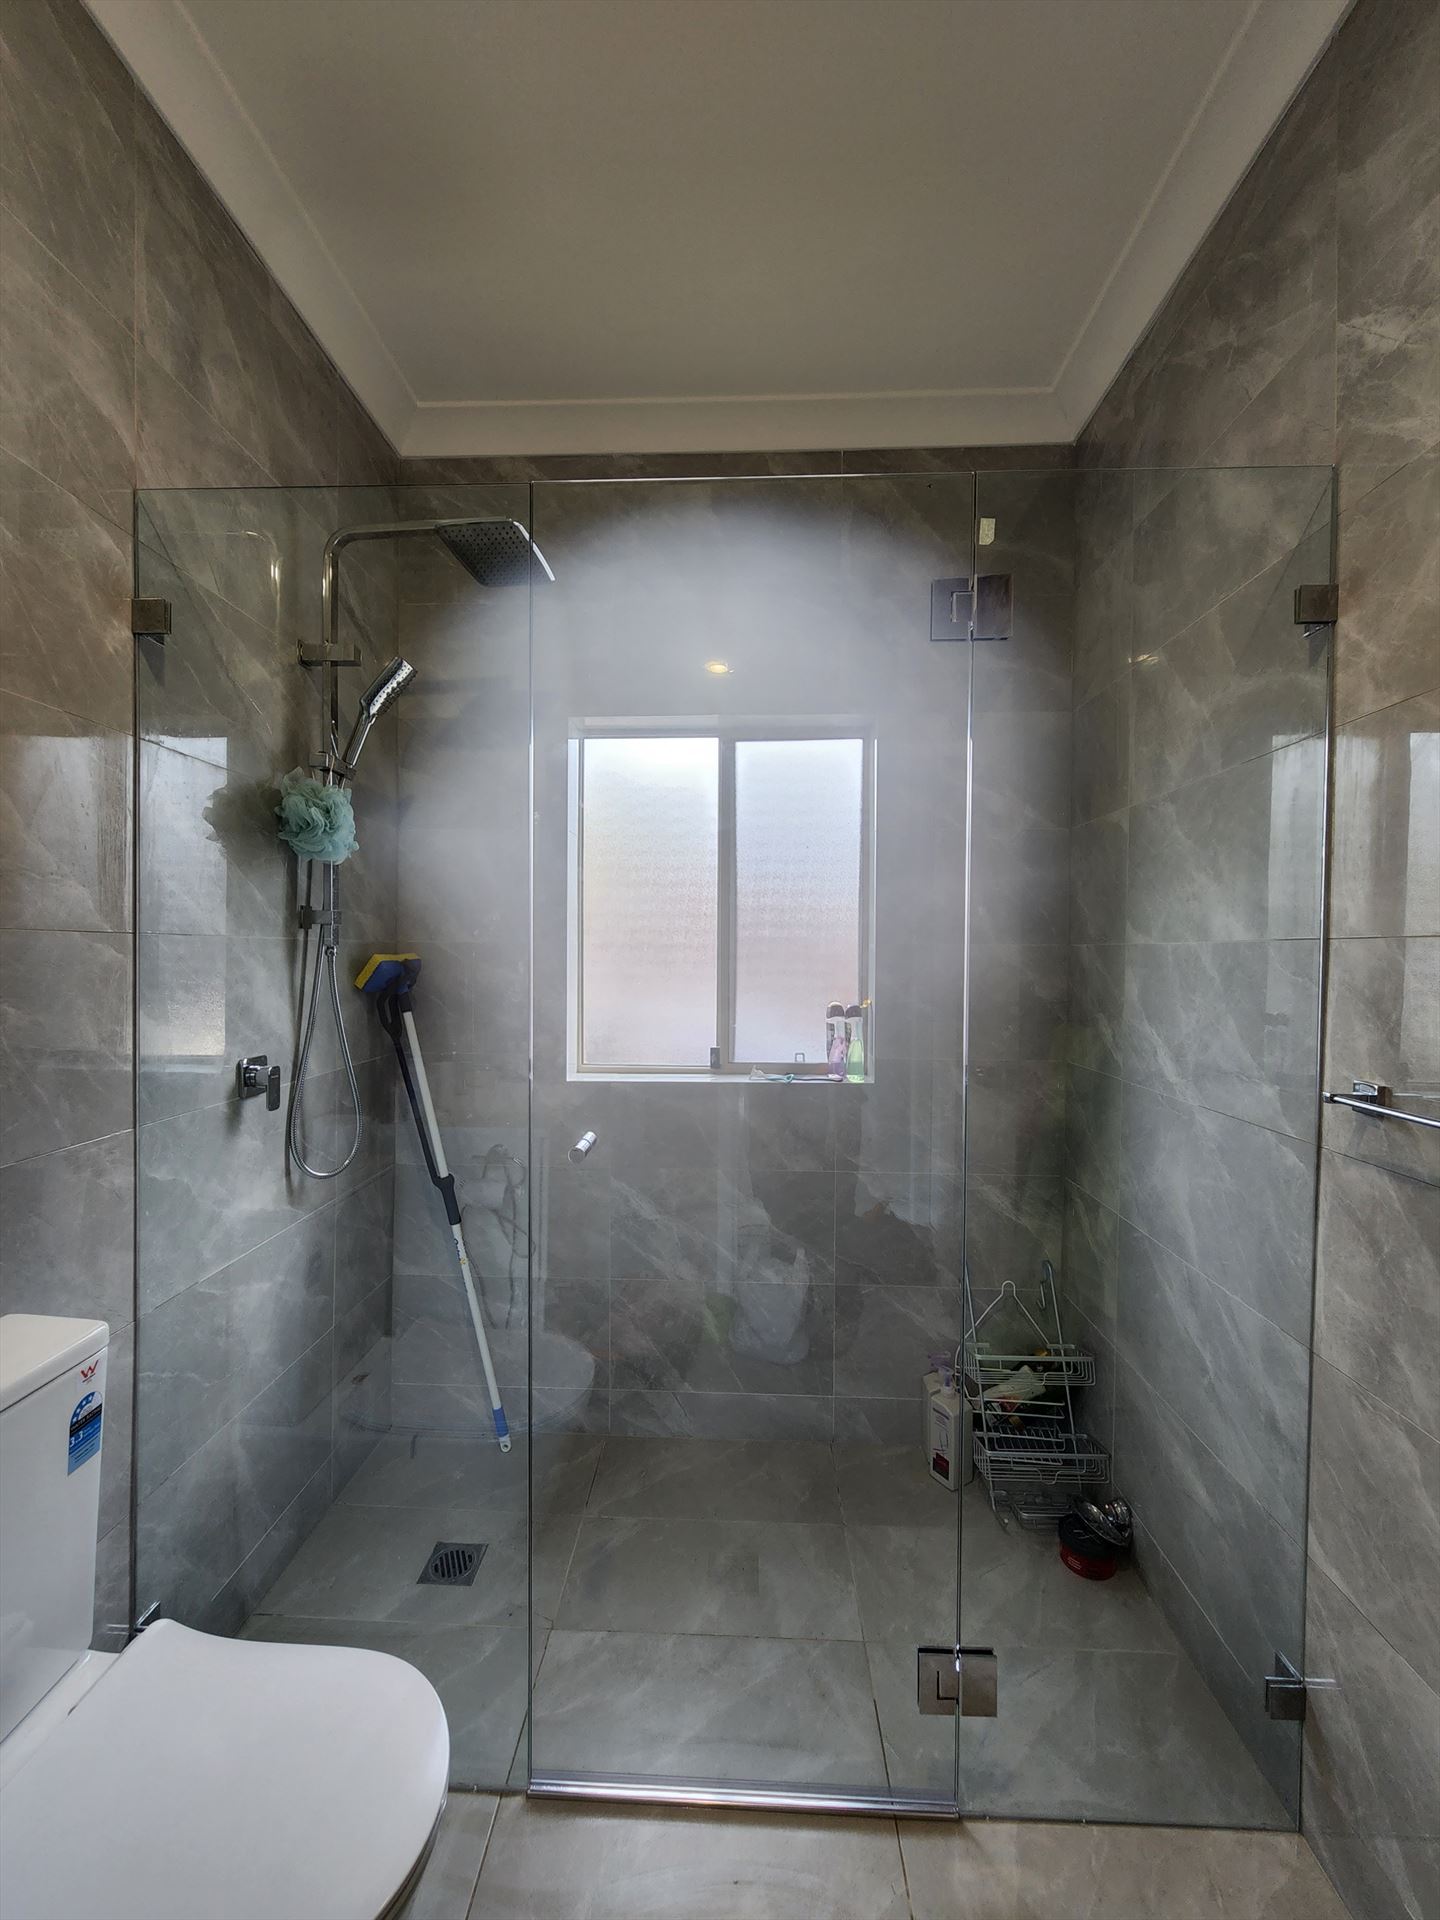
One run of glass with a door set into it, built for an alcove shower between two walls. Because the glass meets the wall at both ends, it keeps splash inside the recess. See the wall to wall frameless shower screen. Priced on measure.
Corner, diamond and tile-following. $1,400 to $3,850 installed.
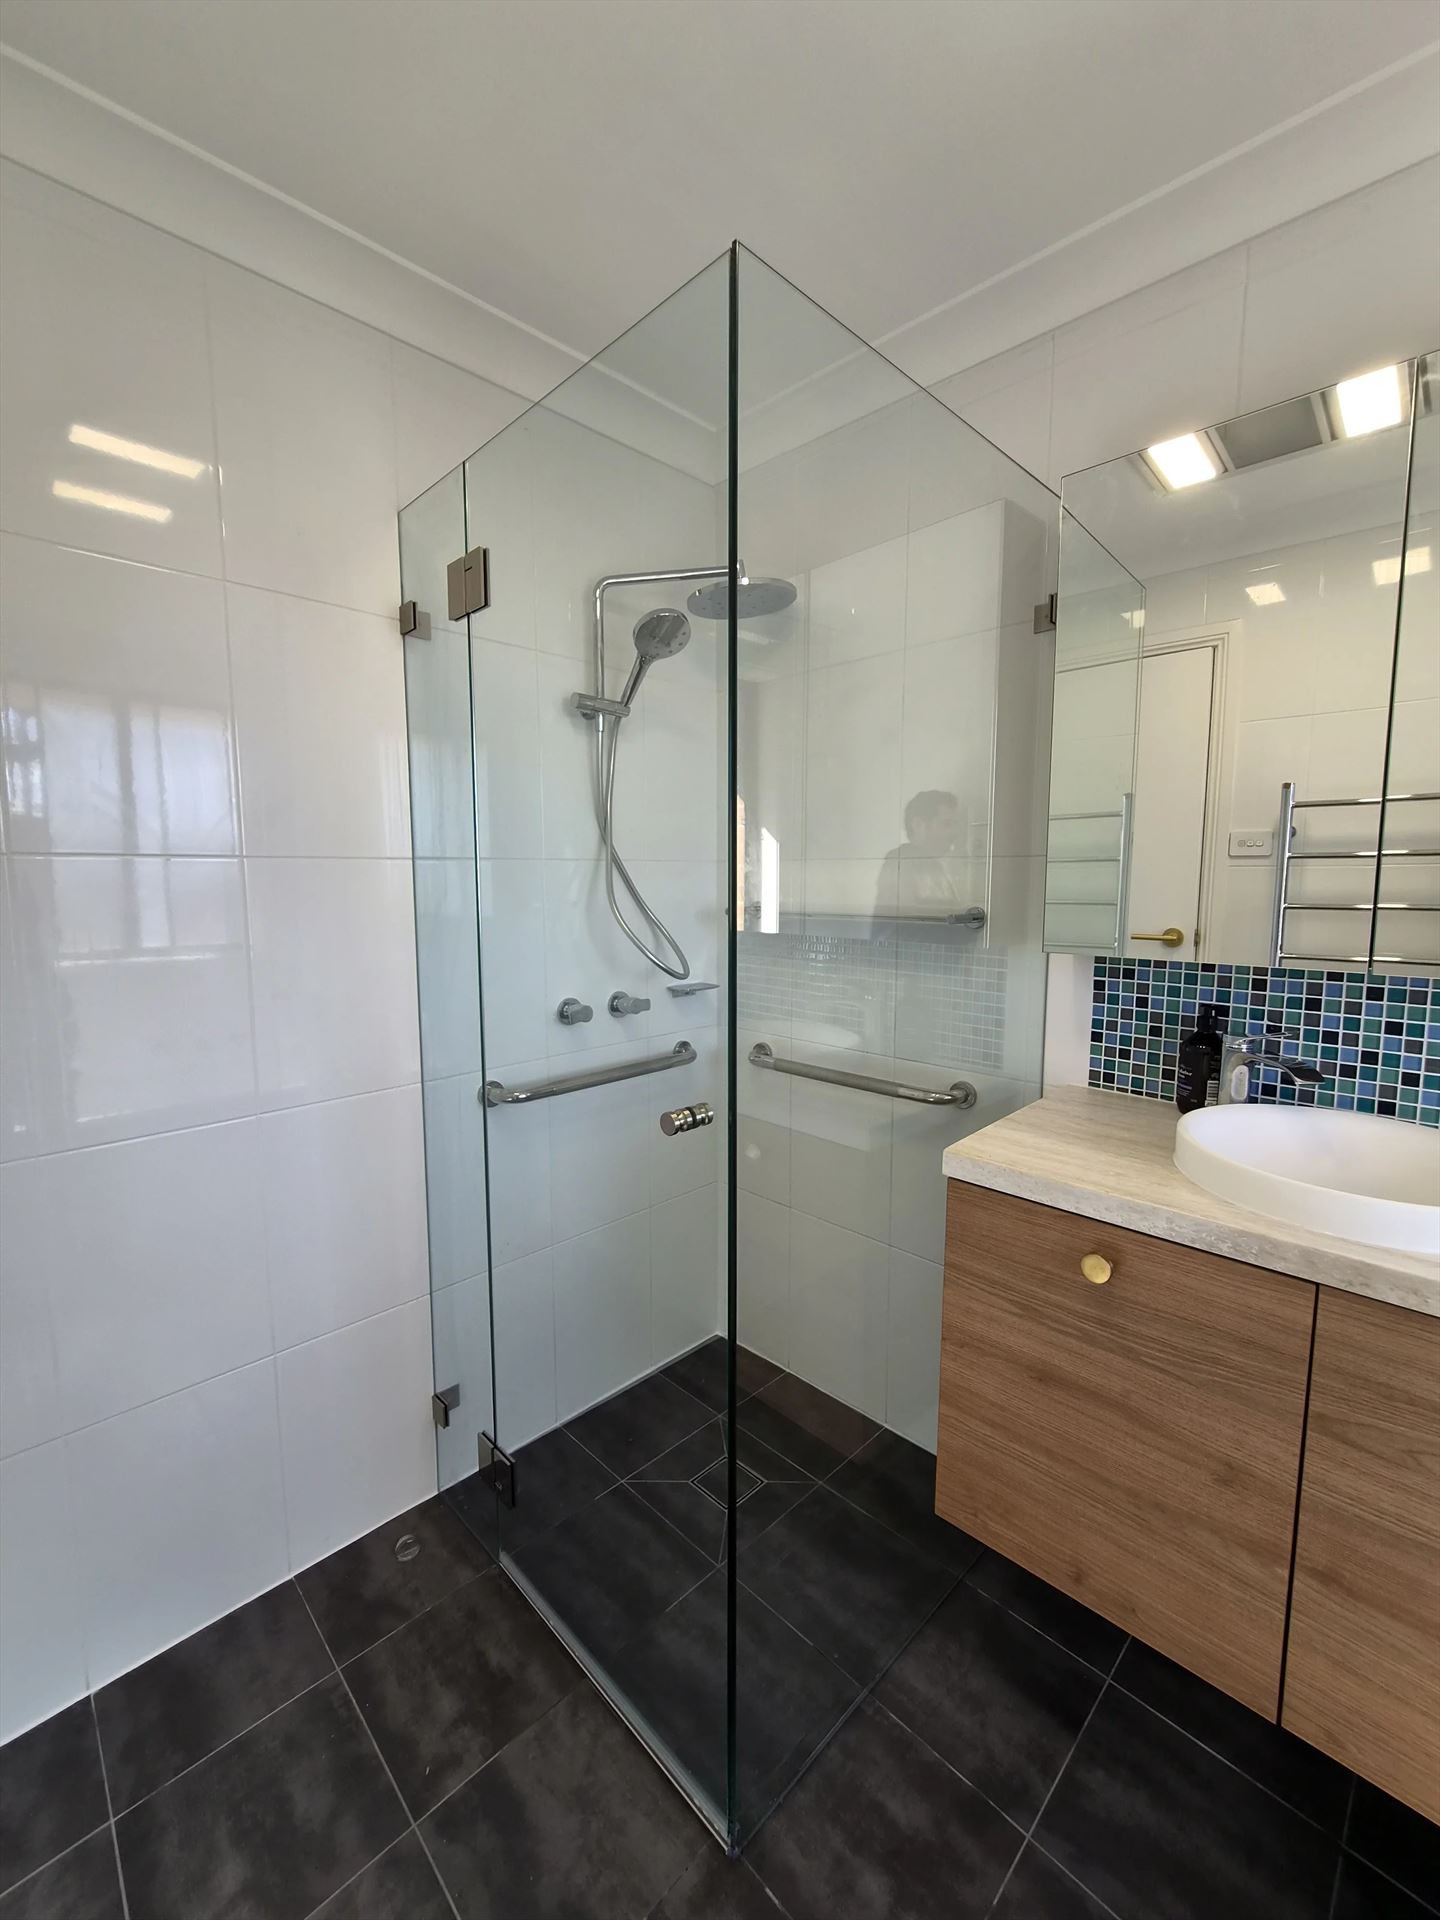
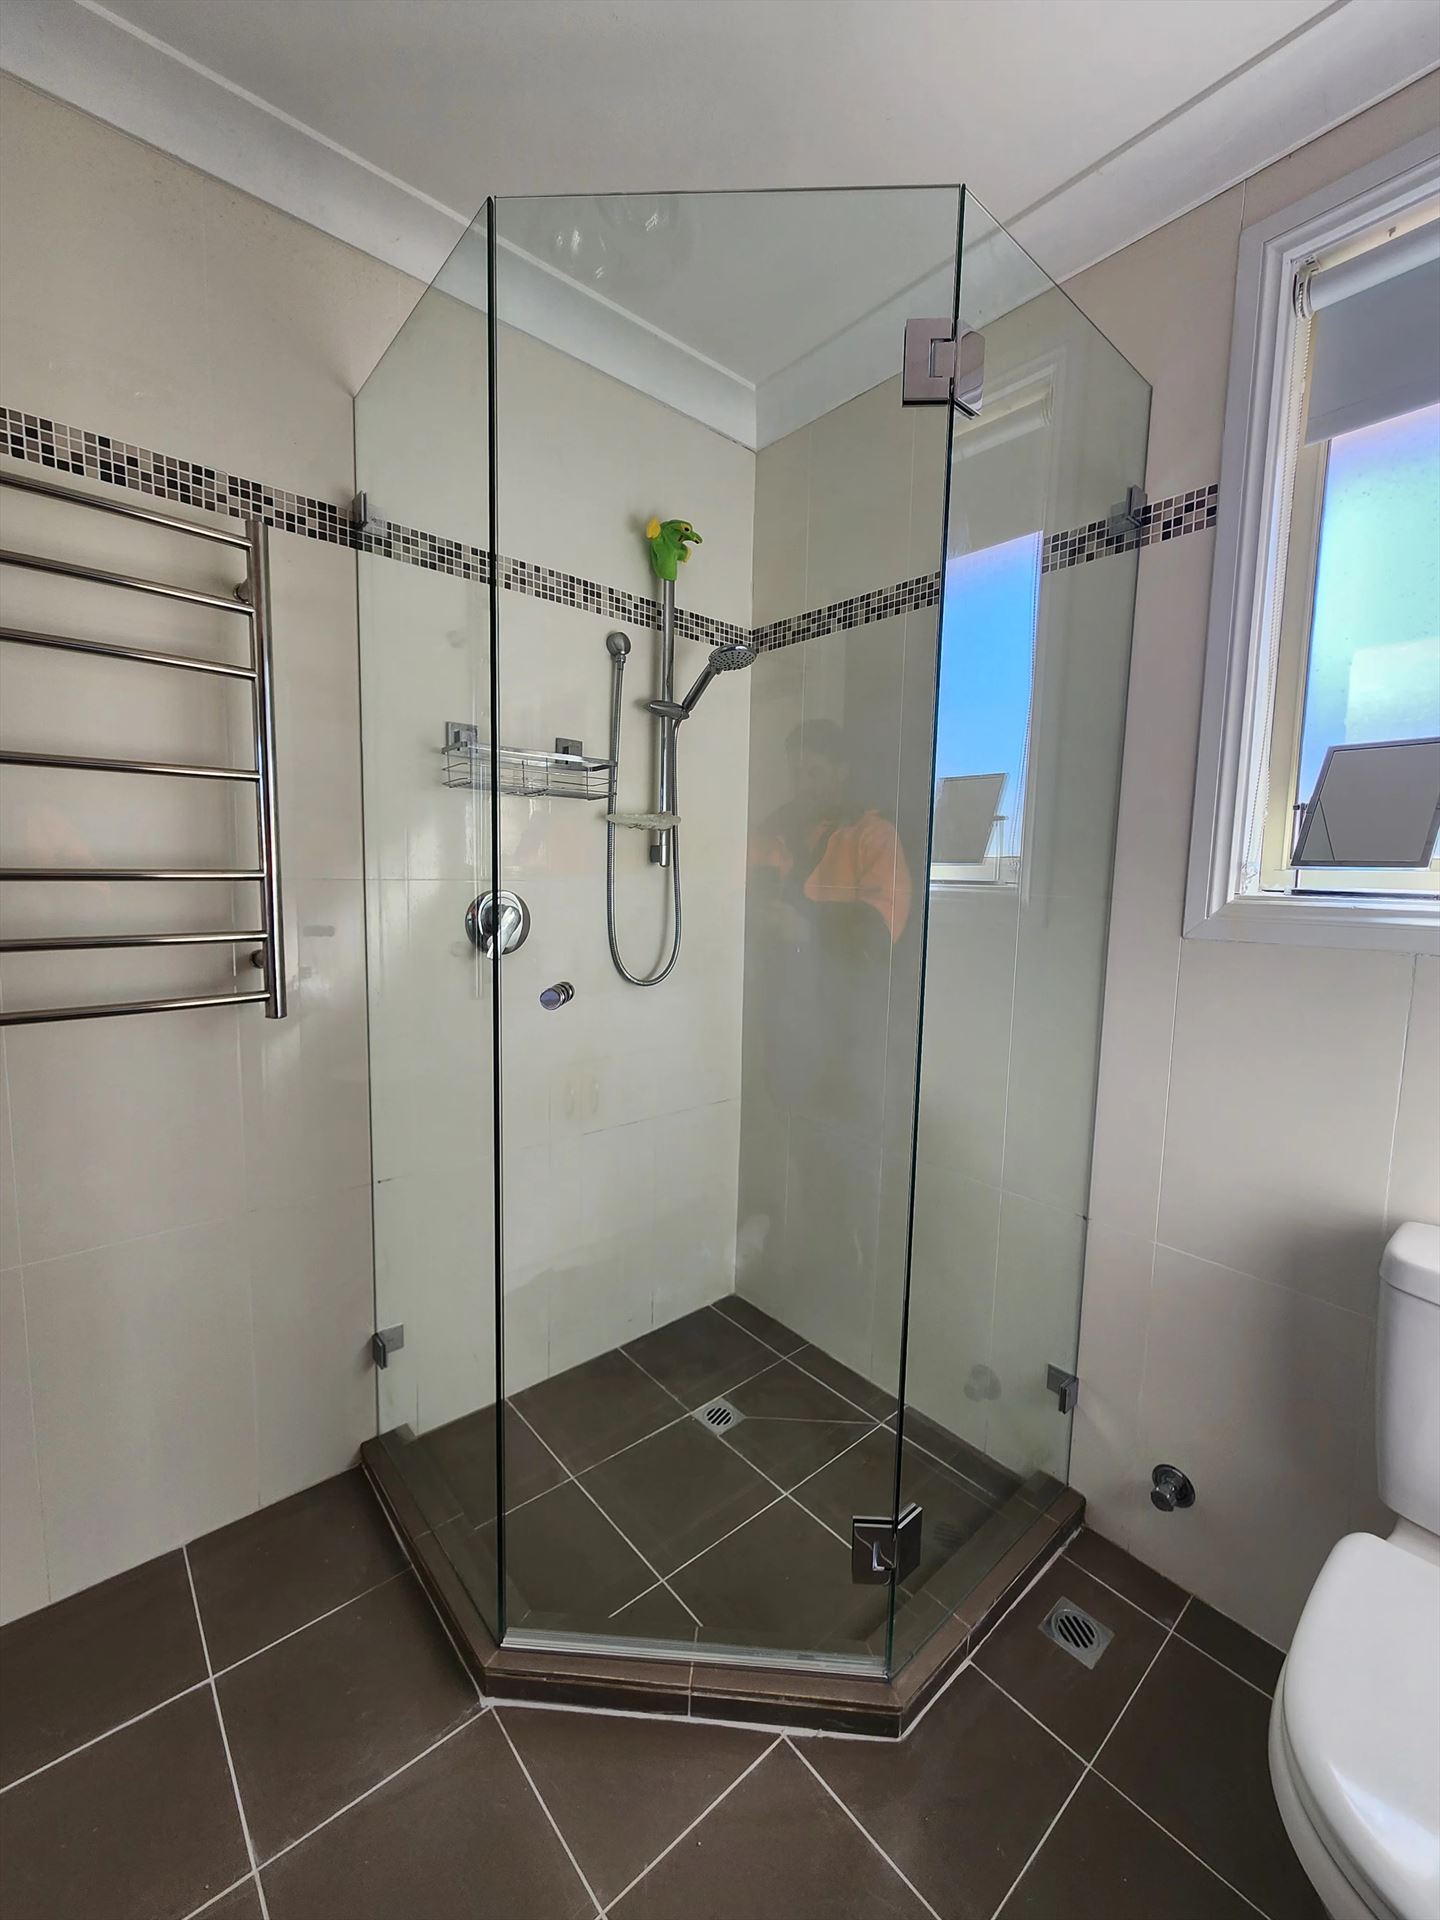
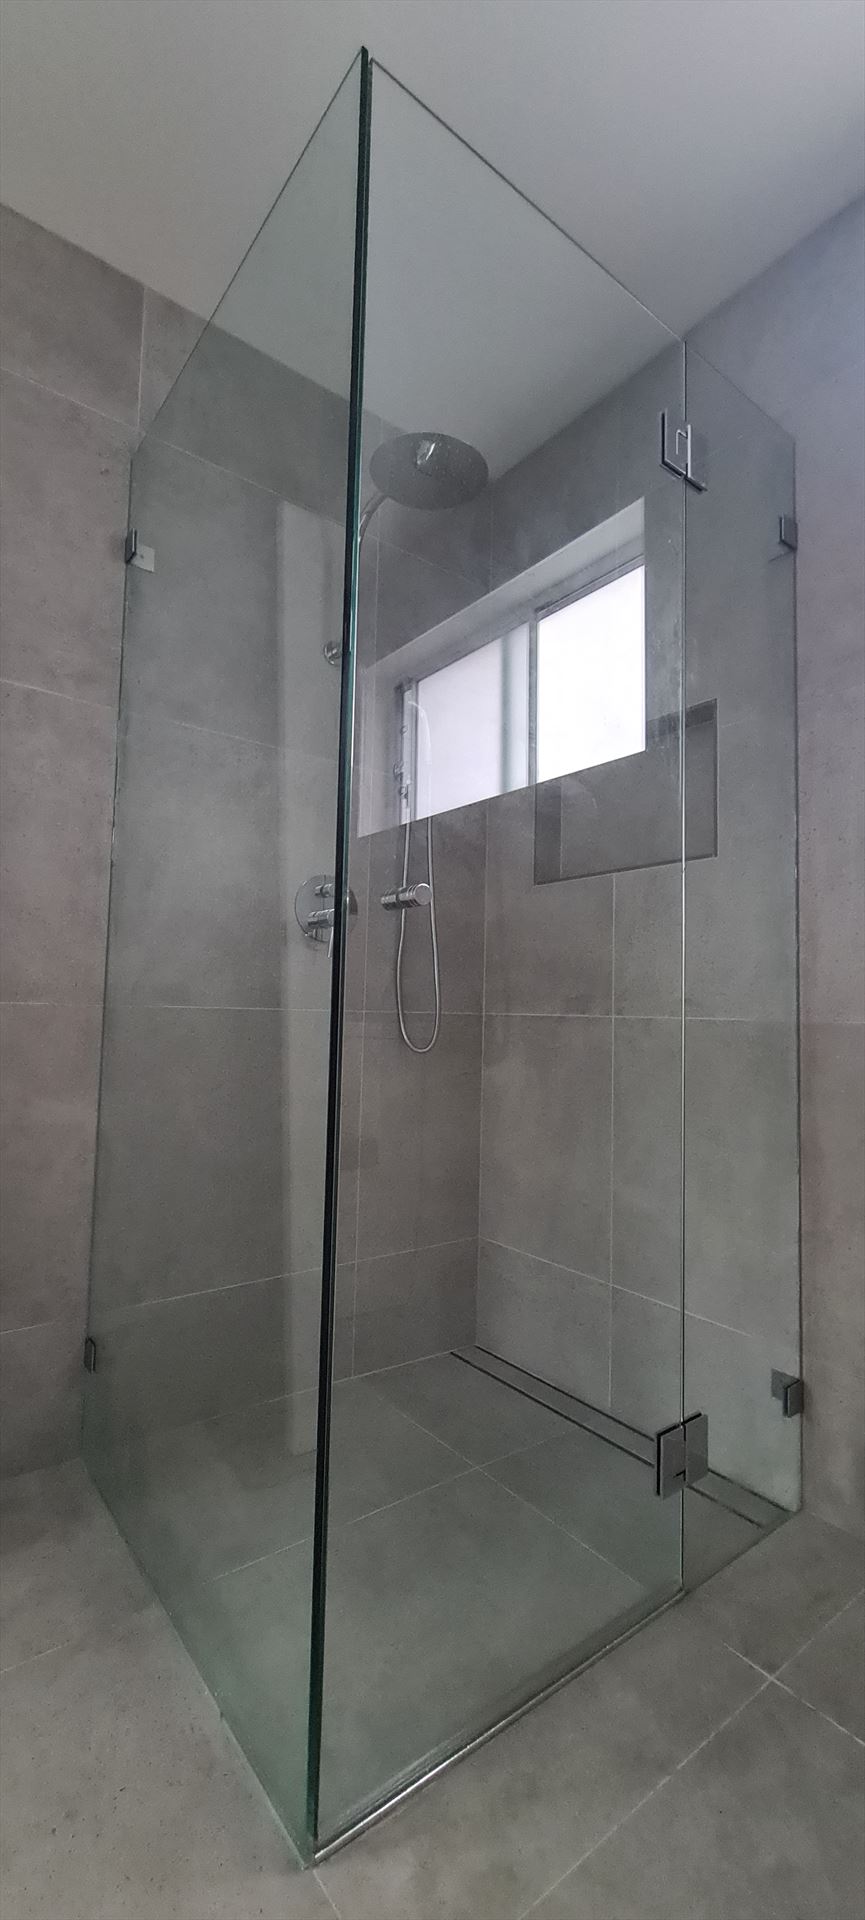
Custom shapes cut to your corner, to a diamond layout, or to follow the line of your tiles. Each one is cut from the exact dimensions we take at the measure, since these are the shapes where an error of a few millimetres shows. See frameless corner shower screens, the 900 x 900 frameless shower screen and the diamond frameless shower screen.
Over bath
Frameless glass fixed to the bath edge, as a fixed panel, a hinged panel or a sliding door. It suits a bath and shower in one, where you stand in the bath to shower. See frameless over bath shower screens. Priced on measure.
Sliding
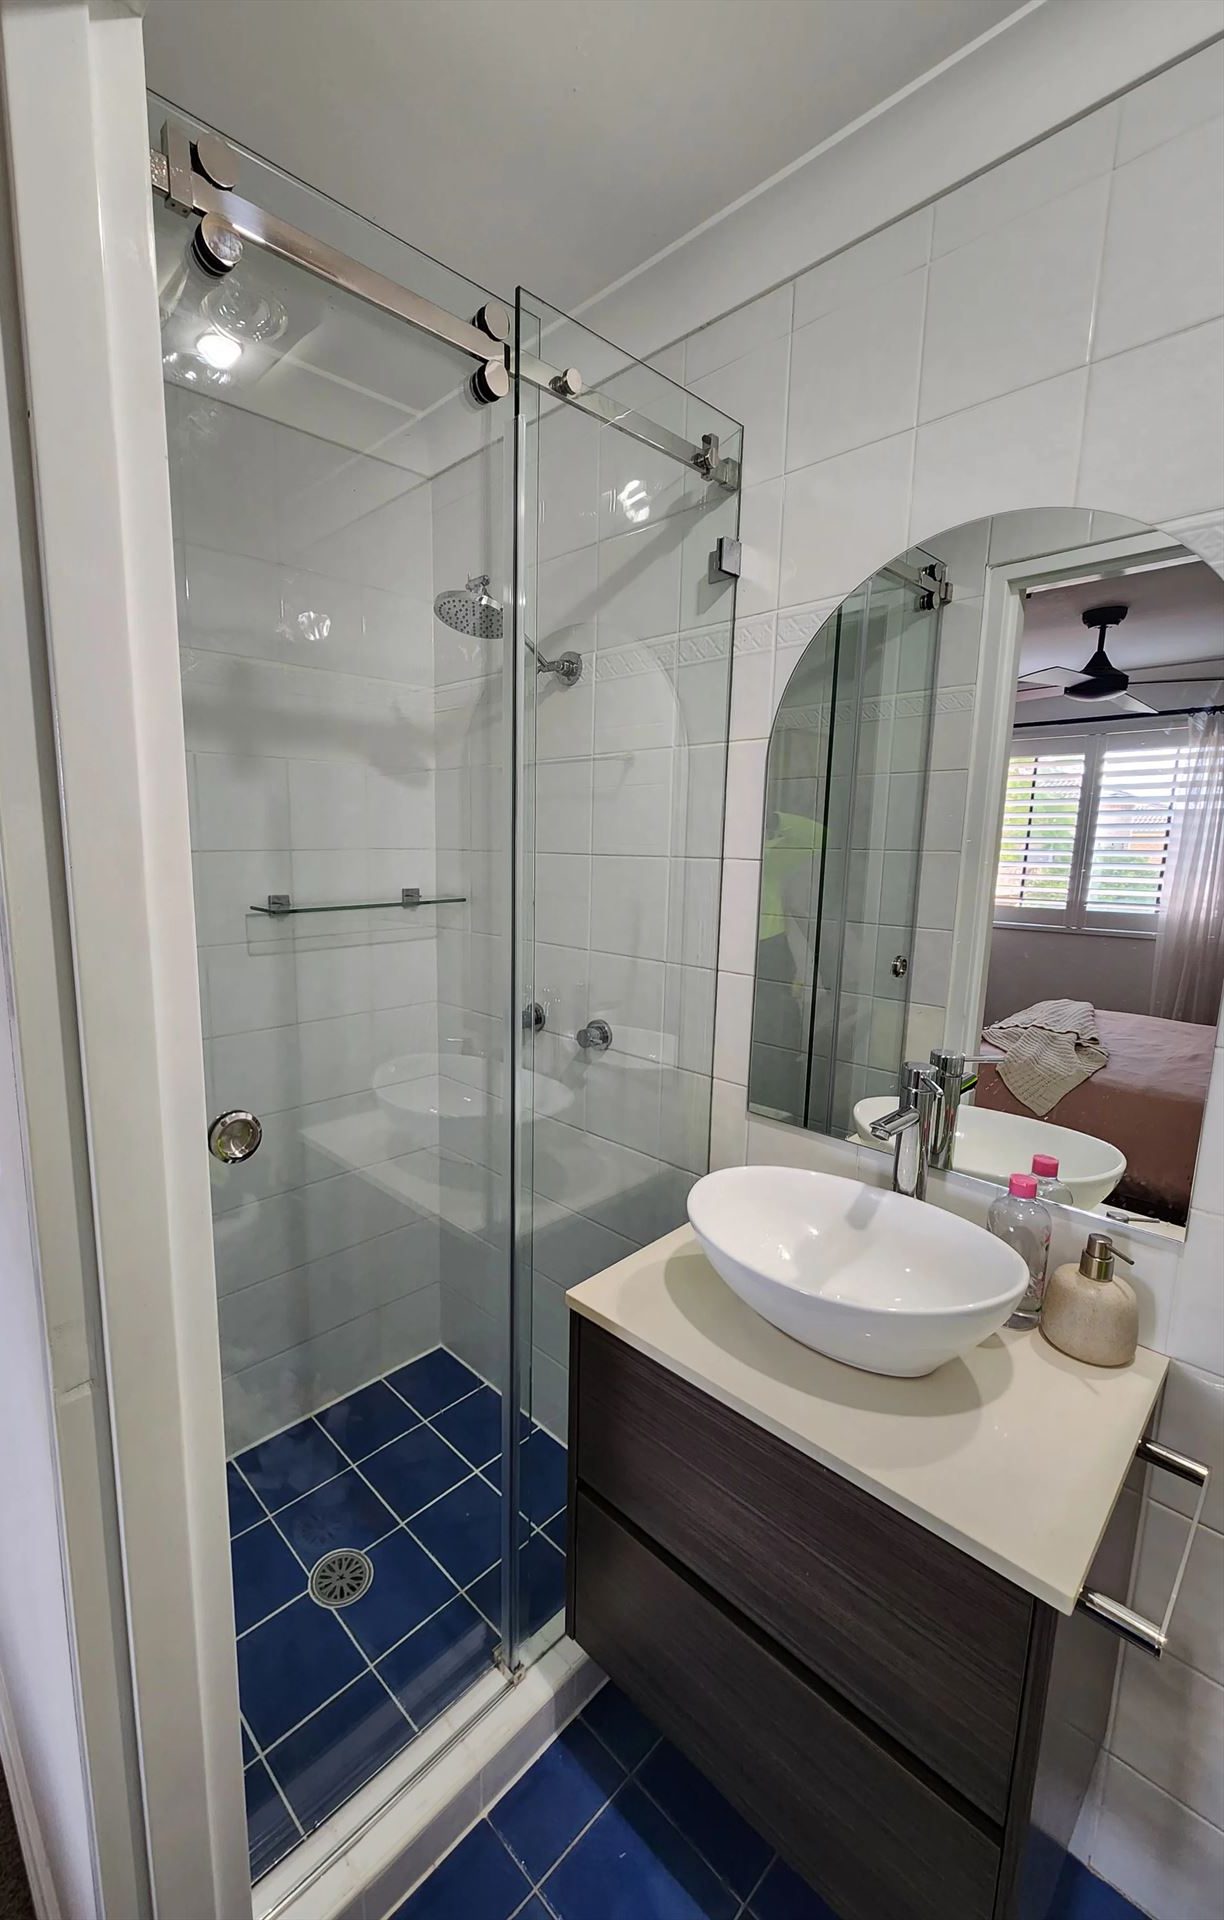
A frameless door that slides on a track, for a narrow bathroom or a vanity in the swing path. See our frameless sliding shower doors. Priced on measure.
Walk in
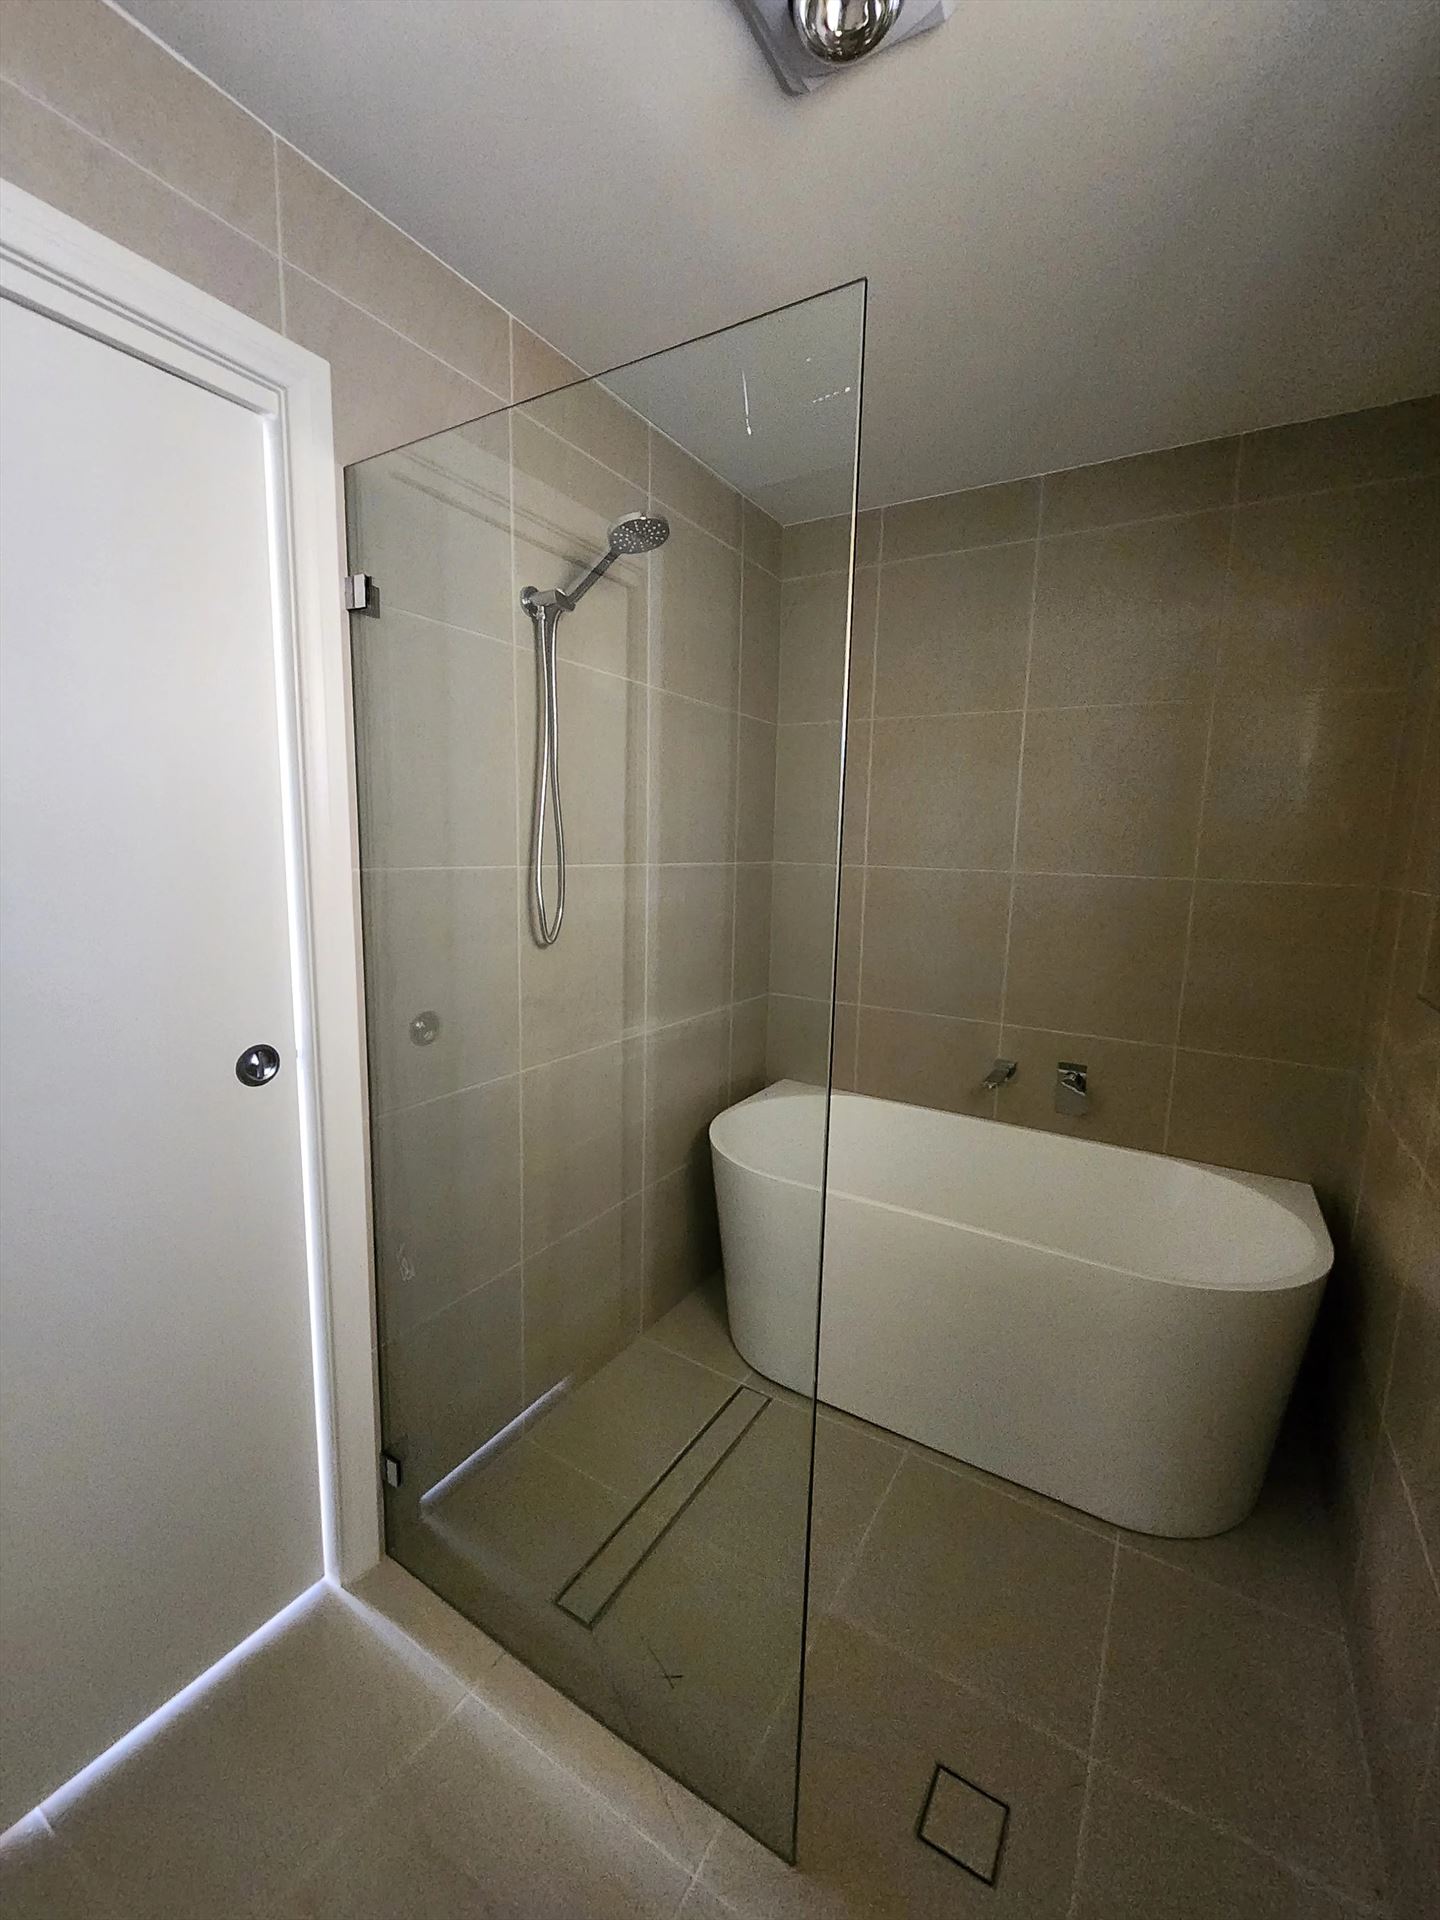
An open entry: nothing to open, nothing to clean around and a wide clear way in. The panel is sized to the position of the shower head so water lands where it should. See the walk in shower screen page. A frameless fixed panel starts from $880 installed.
How to choose
Start with the room, not the glass. If you have an alcove and space for a door to swing, a door and panel or a wall to wall run is the usual answer. If space is tight, with a vanity or the bathroom door close by, a sliding door or a fixed panel avoids the swing altogether.
If you want the plainest, most open look, a walk in panel does it, as long as the panel is wide and tall enough for your shower head. If you are unsure, tell us what sits around the shower, the vanity, the toilet and the bathroom door, and we will say what fits. The $55 measure settles it.
Prefer a slim frame? Our semi frameless shower screens start from $990 installed.
What a frameless shower screen costs, and why
The frameless shower screen price starts from $880 installed, for a fixed panel. Corner, diamond and tile-following screens, which are cut to a custom shape, run from $1,400 to $3,850 installed. Every other layout is priced on measure, because the number depends on your bathroom and not on a catalogue.
Seven things move the price. Size comes first, because more glass costs more. Shape is next: a straight panel is simpler than a diamond or a screen that follows tile lines. The door matters too, since a hinged door and a sliding door use different hardware. So does the finish of the hinges and brackets. A screen that runs wall to wall uses more glass and more fixings than one that stops short. A screen over a bath sits differently from one in a shower recess, because the bath edge decides how the glass is fixed. And if we are taking an old screen out, removal and disposal is part of the quote too.
Every figure above is a supplied and installed price.
The exact figure comes after we measure. Once we have measured, the price we quote is the price you pay. The measure visit is $55, and that $55 is credited to your install if you go ahead. If you want a ballpark before the visit, ask for a quote online or call 0421 717 044.
All the published starting prices sit together on our shower screen pricing page.
Glass and hardware
Glass
Our frameless screens use 10mm toughened glass. Toughened glass is heat treated for strength, and if it ever does break it breaks into small pieces rather than long shards. Because the glass carries the whole screen with no frame to help, thickness matters, and that is why we use 10mm.
Finishes
The hinges and brackets are the only metal on a frameless screen, so their finish is a design choice. We fit chrome, matt black, brushed nickel and brass. Match them to your tapware and the rest reads as one set.
Hinges
The hinges carry the weight of the door. Glass weighs about 25 kg for every square metre, so a door that is 2 metres high and 700mm wide weighs about 35 kg. That is why a hinged door tops out at 700mm wide and 40 kg. A wider opening gets a fixed panel next to the door, which also looks balanced.
Sizes
Because of that door limit, a wide opening is split into a door and one or more fixed panels. A fixed panel has no door to carry, so it can be cut to the width the opening needs. Standard screen height is 2000mm, and taller screens are made to measure on request, for example to follow a taller tile line when the design calls for it.
Brackets and support bars
Brackets hold a panel to the wall, or one panel to another. A long panel can also get a support bar, a slim metal bar from the top of the glass to the wall, which keeps it steady. We explain the options on our frameless shower screen brackets page.
Seals
A strip along the door edge and the bottom of the panel limits water escaping. We fit them at install, after the measure has checked the fall of the floor, so they work as intended. See the frameless shower screen seal page.
Frameless shower screen installation
Our installer fits the screen on site, and the installation itself takes about 2 hours once they arrive. The glass arrives already cut to your measurements, so the time on site goes into marking out, fixing the brackets and hinges, levelling the glass and sealing it. Toughened glass cannot be cut once it is made, which is why the measure has to be right.
Measuring for a frameless screen
Frameless glass is cut once, to your exact measurements, so the measure matters more than anything else. These are the situations that catch people out, and what we check for each.
Vanity in the doorway
If a vanity sits close to the shower, a hinged door can hit it. We check the swing before anything is cut. Often the answer is a smaller door with a fixed panel, or a sliding door.
A window on the wall
A window that sits in the shower wall changes where the glass can fix, and how steam and water reach it. We note the sill height and the frame edge, so the panel clears them.
A door that opens inwards
Frameless hinges swing both ways, so the screen door can open into the shower as well as out. If the shower head sits in its path, we set the door where it clears it, and you keep both directions.
Walls, corners and tile lines
Few bathrooms are perfectly square. We check the walls and floor for plumb and level at the top, middle and bottom, and the glass is cut to suit. For a corner, diamond or tile-following screen we also measure the angle of the corner and mark the grout lines, because few corners are exactly 90 degrees and tiles rarely finish at the same height on both walls. These are the screens where a few millimetres matter most, and the reason they are priced from $1,400.
The floor and the drain
Water should run towards the drain, and a floor that falls the wrong way is the usual cause of water pooling at the door. We look at the fall of the floor and the position of the drain, because they decide where the panel and seals sit.
Before we visit, clear the shower floor if you can, and tell us the finish of your tapware so we can talk through matching hardware.
Frameless shower screen sizes are almost never standard for this reason. That is why we measure first and cut the glass to your bathroom, not to a stock size.
Recent frameless installs
Real jobs from our install library, shown by suburb. We install across Sydney from our Blacktown base, and our library covers Blacktown, Castle Hill, Baulkham Hills, Seven Hills and Parramatta, among others.
See more installs: Blacktown, Castle Hill, Baulkham Hills, Seven Hills, Parramatta.
← Sydney shower screen specialists
Explore our frameless range
- frameless sliding shower doors
- fixed glass shower panels
- walk-in shower screens
- wall to wall frameless screens
- corner frameless shower screens
- curved glass shower screens
- diamond frameless shower screens
- 900 x 900 frameless shower screens
- frameless over-bath shower screens
- black frameless shower screens
- free standing shower screens
Guides & parts
Questions about frameless shower screens
A frameless fixed panel starts from $880 installed. Corner, diamond and tile-following screens run from $1,400 to $3,850 installed, and the other layouts are priced on measure. The measure visit is $55, credited to your install if you go ahead.
We use 10mm toughened glass for all our frameless screens. It is stiffer than thinner glass, which matters because the glass carries the screen without a frame. Thicker glass is also heavier, which is one reason the hinges and brackets are chosen to suit each screen.
Any screen can let a little water past the door edge. Three things control it: the fall of the floor towards the drain, the seals on the door edge and the bottom of the panel, and a tight fit to the wall. We check all three when we measure and fit seals on install, so a small splash at the door edge does not become a puddle outside the shower. If water is escaping after install, tell us and we will look at it.
Yes. Over a bath we use a fixed panel, a hinged panel or a sliding door. We measure the bath lip, the tap position and the splash zone first, because the bath edge is rarely level and the glass has to sit on it cleanly. See our over bath screen options.
The installation itself takes about 2 hours once our installer arrives. We confirm your install date with you after the measure.
We're fully booked until Monday 3 November 2026. A deposit can still lock in your install slot from that date.
Our 12 month workmanship warranty covers the installation work. If something we fitted is not right, call 0421 717 044.